Klicken Sie hier um diesen Beitrag auf Deutsch zu lesen.
Table of Content:
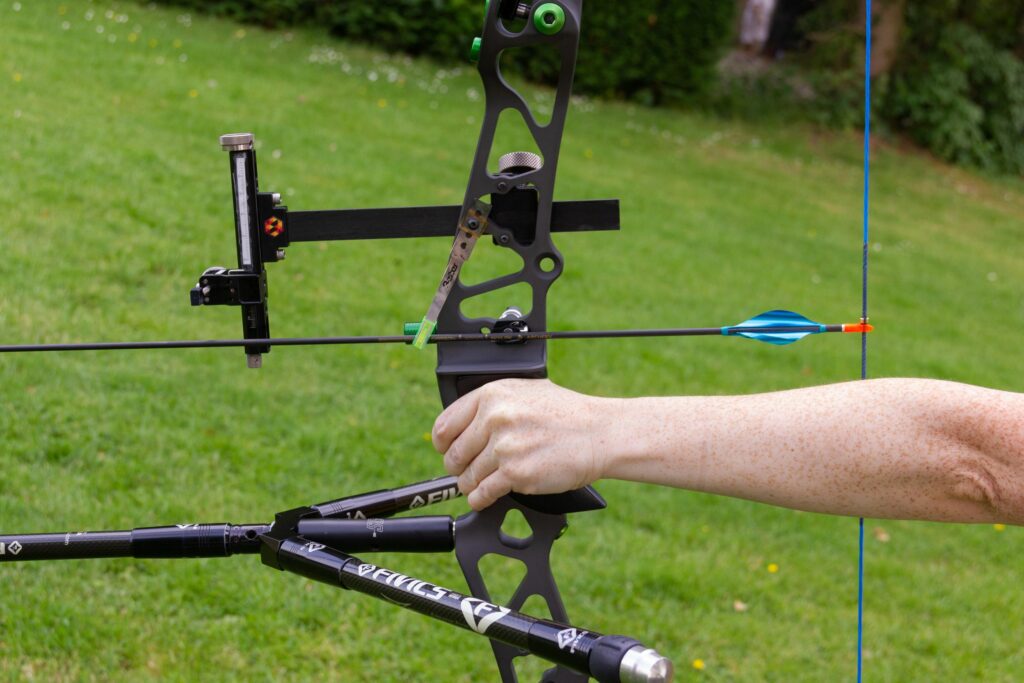
Nock, nock. One of the biggest hurdles for archery enthusiastic beginners is probably the question of the nocking point. What is a nocking point anyway? It is a stopper, so to speak, that centers the arrow and ensures that the arrow can leave the sight window or the arrow rest as orthogonally as possible, or without contact. But where exactly do you place the nocking point and what is the best material to use on the string? How do I measure this as accurately as possible? Let’s start with the material we need for this.
Material Needed:
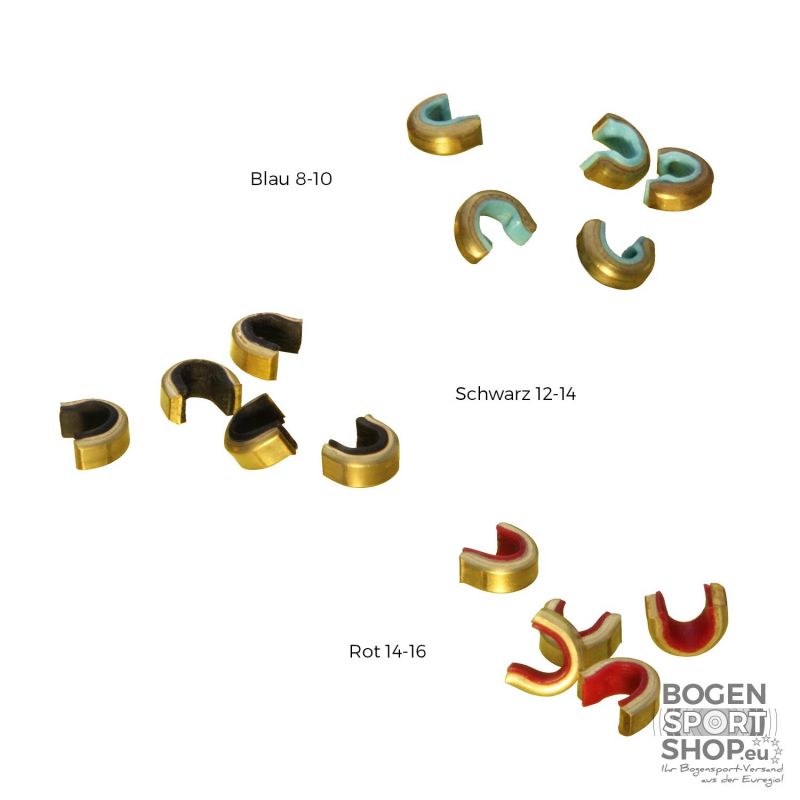
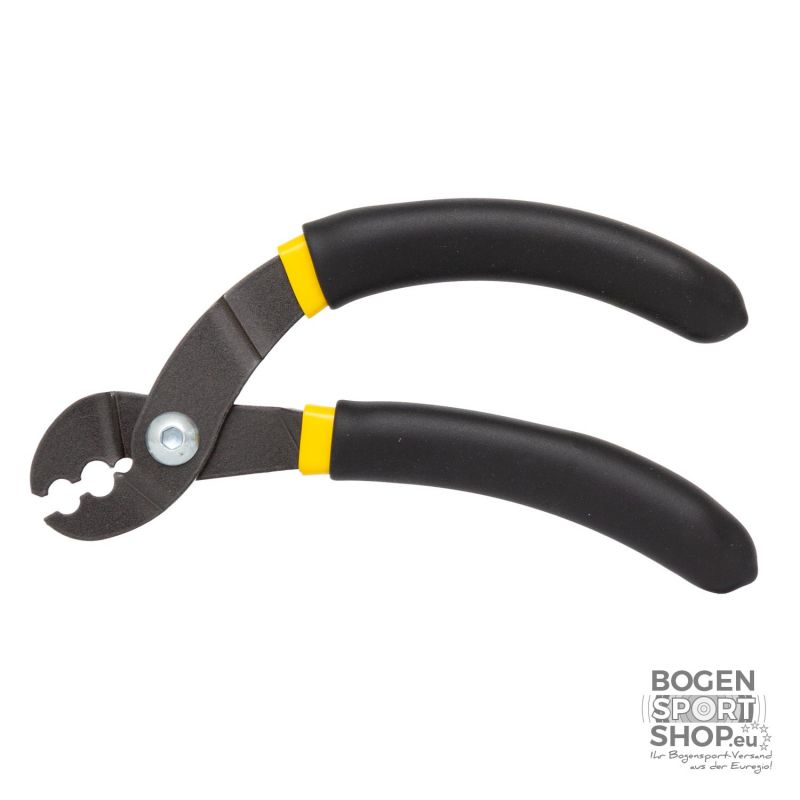
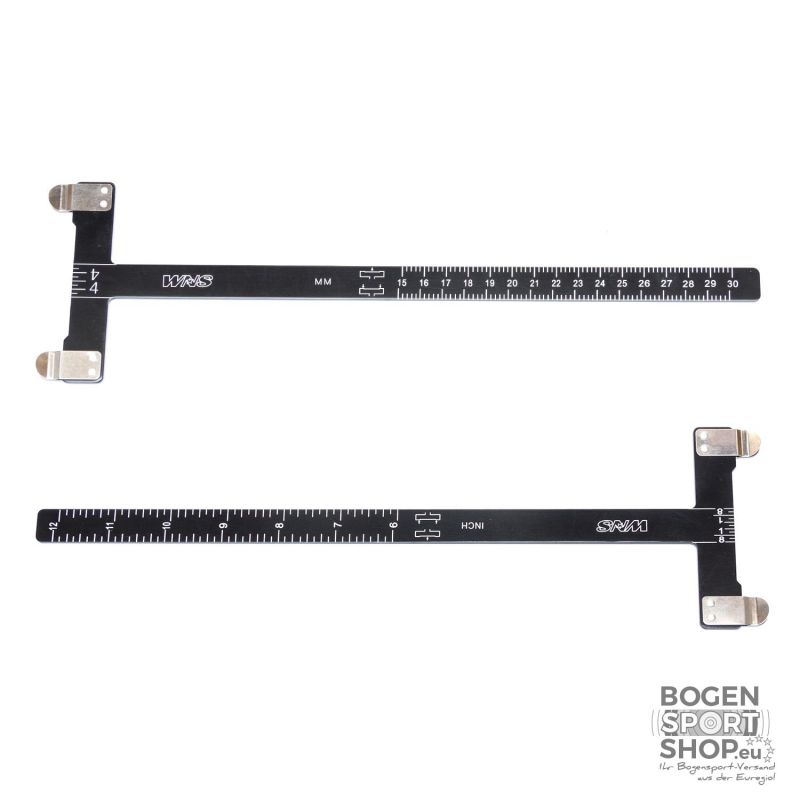
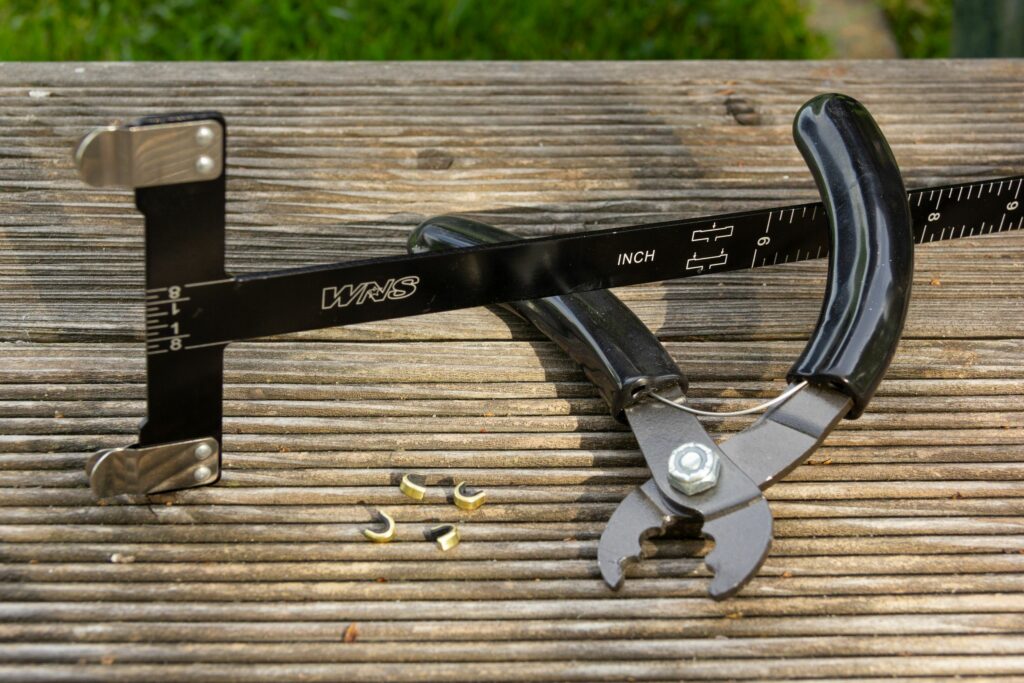
You should also have a clamp-on nocking point ready, ideally also a nocking point pliers (and we can already hear the question coming): Will a normal pair of pliers also work? Theoretically, yes. With a little manual dexterity, it could also work with normal pliers) and a bow square.
How to Attach the Nocking Point
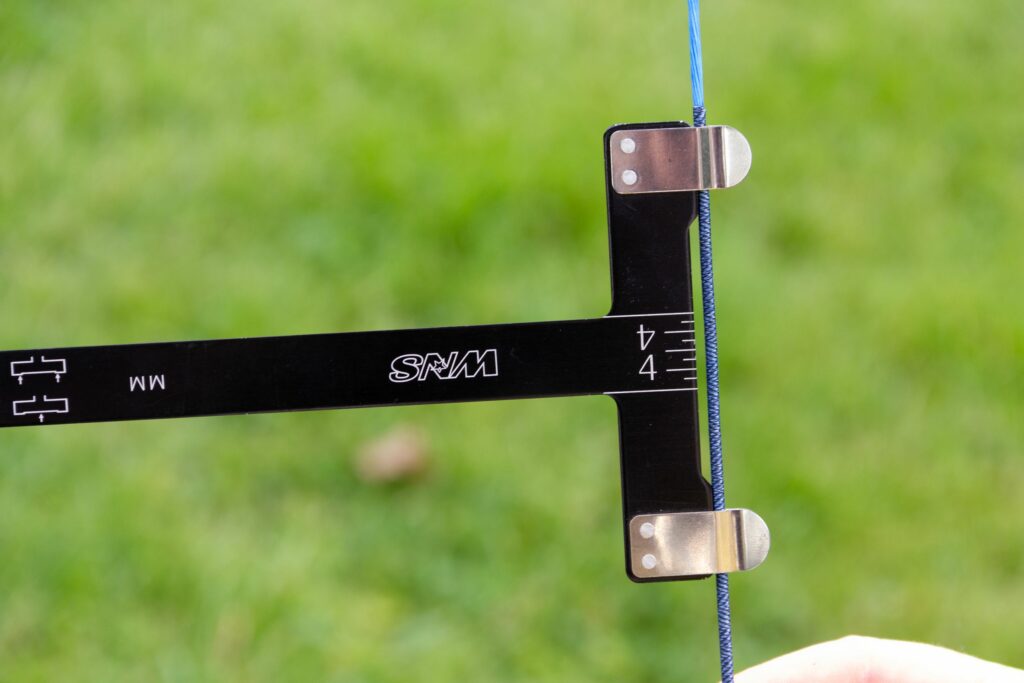
1. Set up your bow and string it. Take your bow square and clamp it to the string with the devices attached for this purpose.
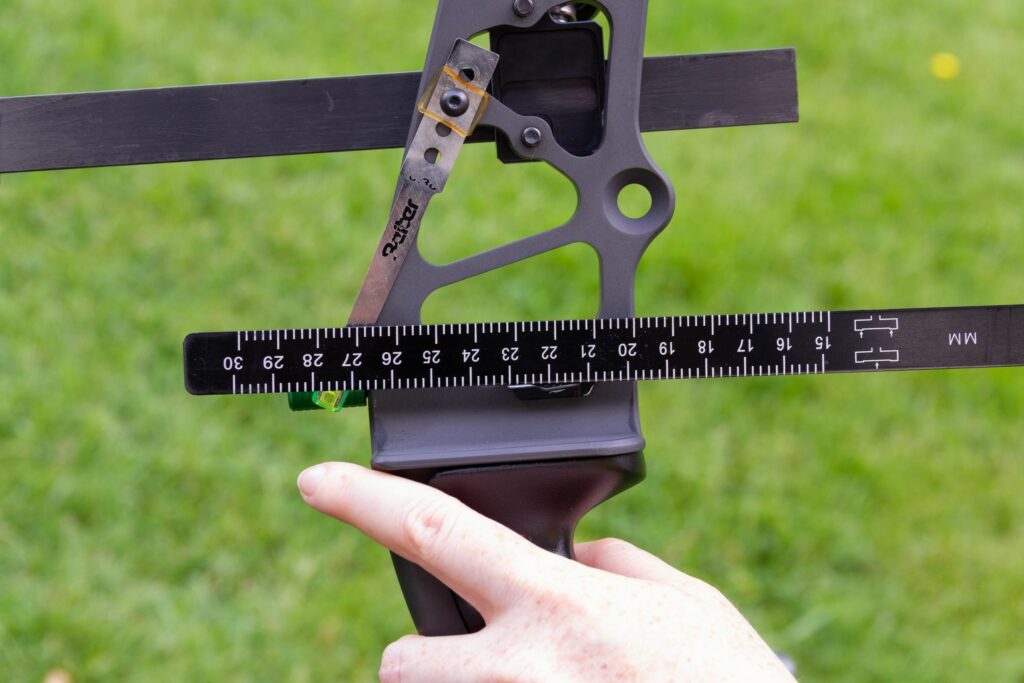
2. Position the bow square on the string so that the long side rests on the arrow rest like an arrow. The checker should not press too hard on the rest, but should not be out of contact with it either.
3. You will now see markings on the scale of the bow square near the string. These can look different depending on the bow square. You can attach up to two nocking points to the string (recommended for beginners). The more important nocking point is the upper one, because it prevents the arrow from sliding upwards.
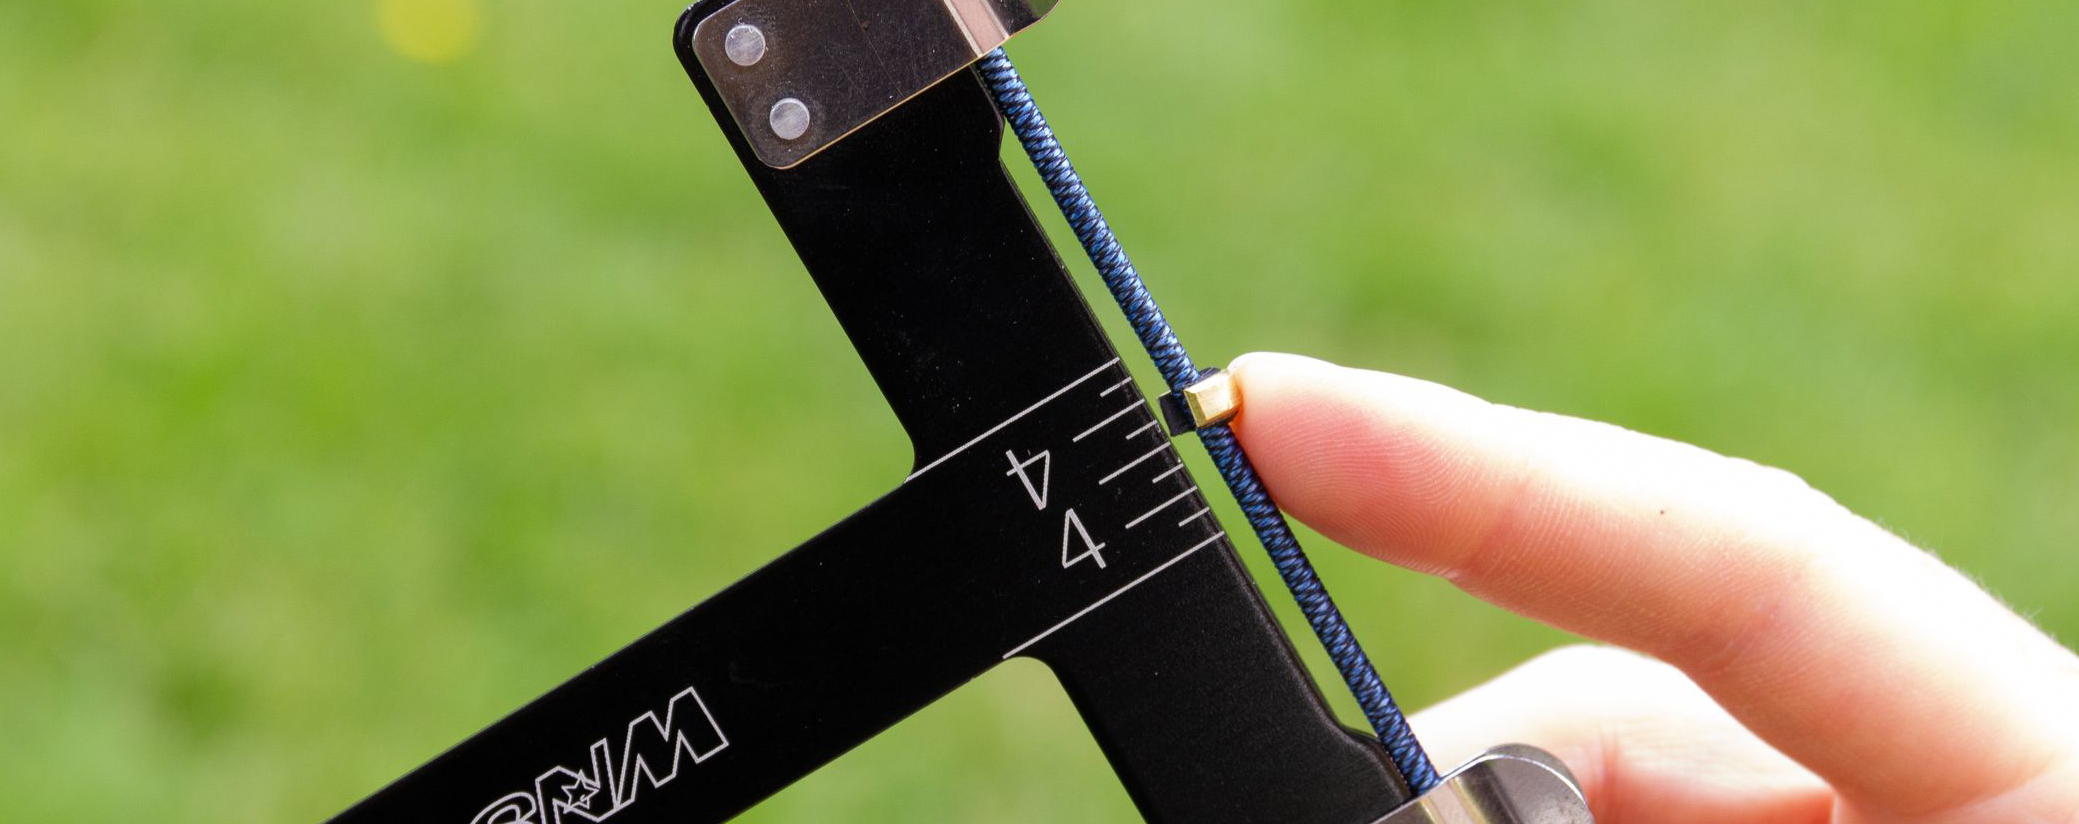
The correct nocking point height is something that can be accurately determined with a little experience. For starters, it is enough to set it at a reasonable height. The lower edge of the upper nocking point should be about 8 – 12 mm above the arrow rest, i.e. counted from the bottom at 8 – 12 mm on the scale on the checker. The model in the photo has markings at intervals of two millimeters. The nocking point height as shown would therefore be 8 mm.
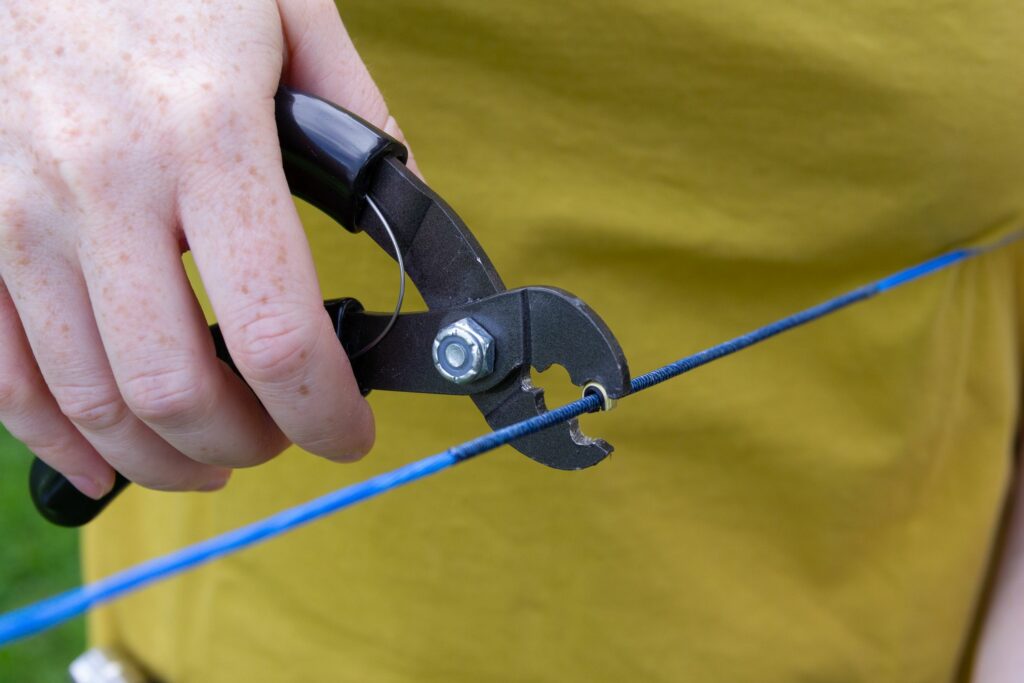
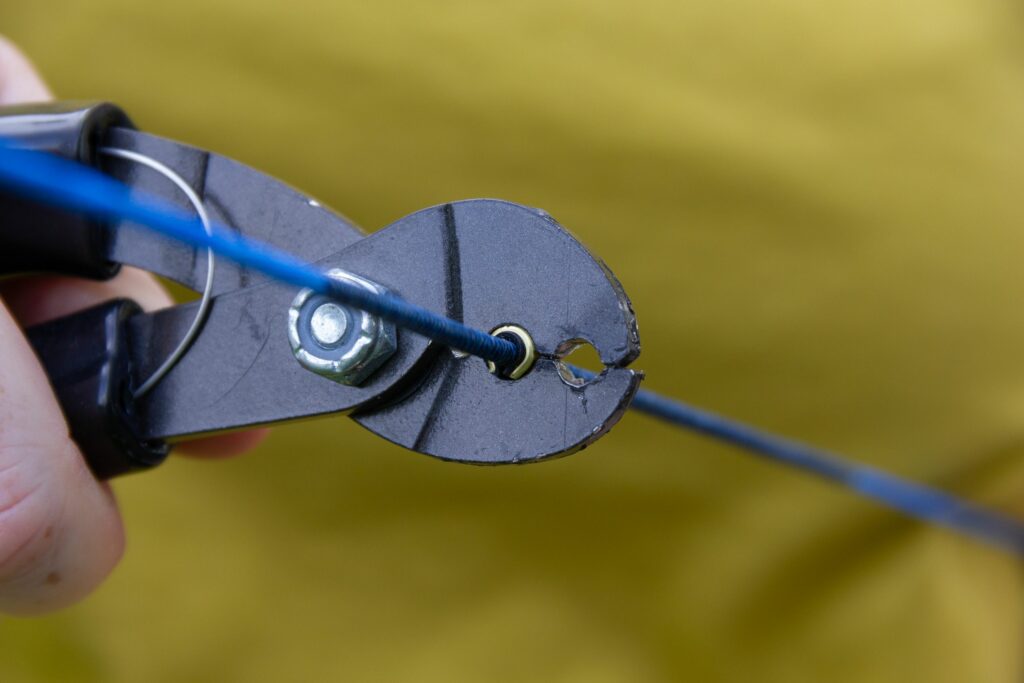
4. Now take the pliers and squeeze the nocking point a little so it cannot shift its position. You can then remove the bow square and press the nocking point firmly again. This way you do not damage the bow square.
Then repeat the same with the lower nocking point. To find the right distance, simply nock an arrow or use a loose nock. But be careful! You must not clamp the nock with two nocking points. There should be a margin of 1 mm, so that the arrow is not squeezed during full draw.
5. Et voilà. C’est ça. Finally, check once again that your arrow is sitting correctly. It should rest loosely on the arrow rest and at the same time not be squeezed by the lower clamp-on nocking point.
